

Your professional headshot is often the first impression you make online, whether it's on LinkedIn, company websites, or professional profiles. But booking a photographer, traveling to a studio, and waiting weeks for results isn't always practical. The good news? You can create studio-quality headshots from your home using modern AI technology (delivered in 1-2 hours) or DIY smartphone techniques (ready in just 5 minutes).
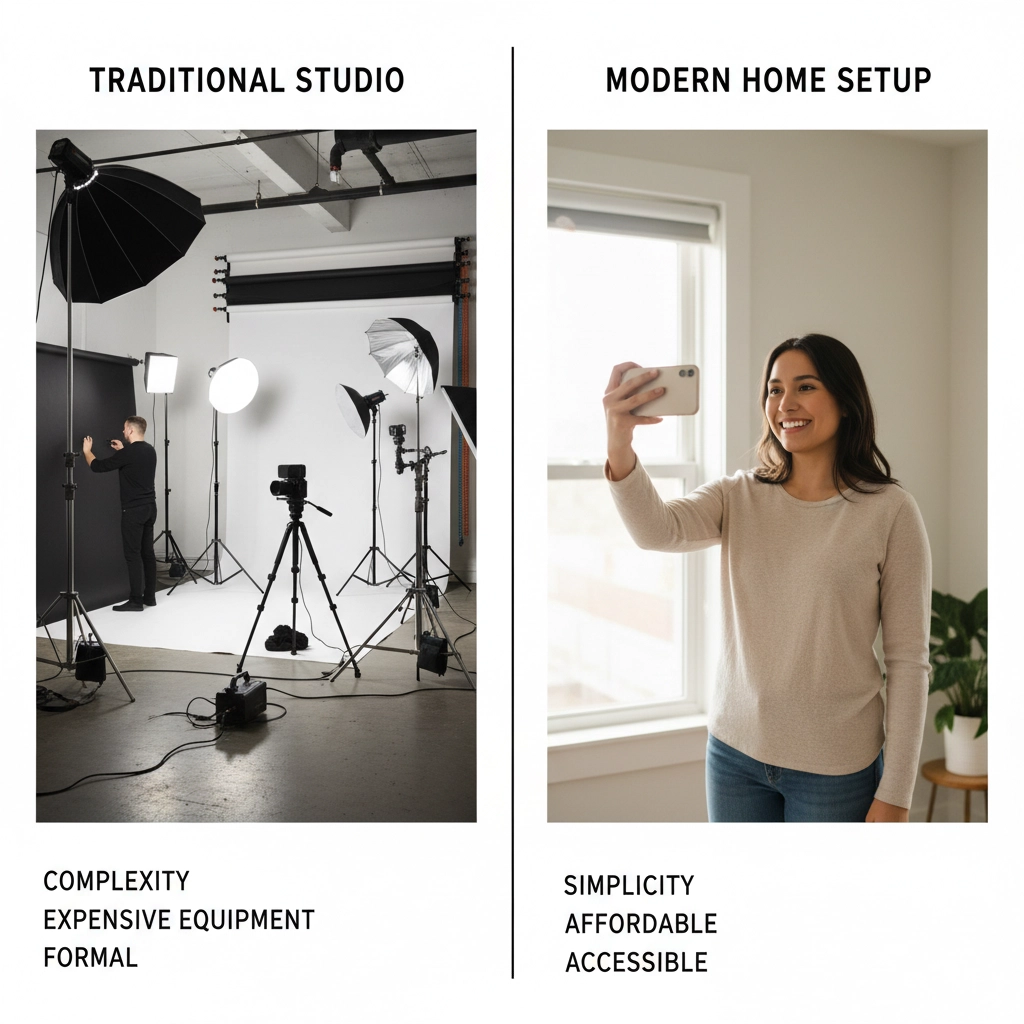
Why Traditional Studio Sessions Are Becoming Obsolete
Professional photography studios charge anywhere from £200-£500 ($250-$625) for a single session, require advance booking, and often take days to deliver your final images. With AI headshots at home, you're looking at a fraction of that cost while getting results in 1-2 hours, not weeks.
The technology has advanced to the point where AI-generated headshots are virtually indistinguishable from traditional studio photography. In fact, many professionals now prefer this approach because it offers more variety, consistency, and convenience than traditional methods.
Method 1: AI-Powered Instant Professional Photos (2 Minutes)
The fastest route to studio-quality headshots is using AI technology. This approach requires minimal effort and delivers professional results that rival expensive photography studios.
Step 1: Upload Your Photos Start with 8-12 casual photos of yourself taken from different angles. These don't need to be perfect – the AI will handle the professional transformation. Make sure your face is clearly visible and well-lit in each photo.
Step 2: Let AI Work Its Magic Advanced AI algorithms analyze your facial features, lighting preferences, and professional styling to generate multiple headshot variations. This process typically takes 1-2 hours.
Step 3: Download Your Results You'll receive dozens of professional headshots in various poses, backgrounds, and lighting conditions. Choose the ones that best represent your professional image.
The beauty of AI headshots is the variety – you get multiple professional looks without the cost and time investment of traditional photography sessions.
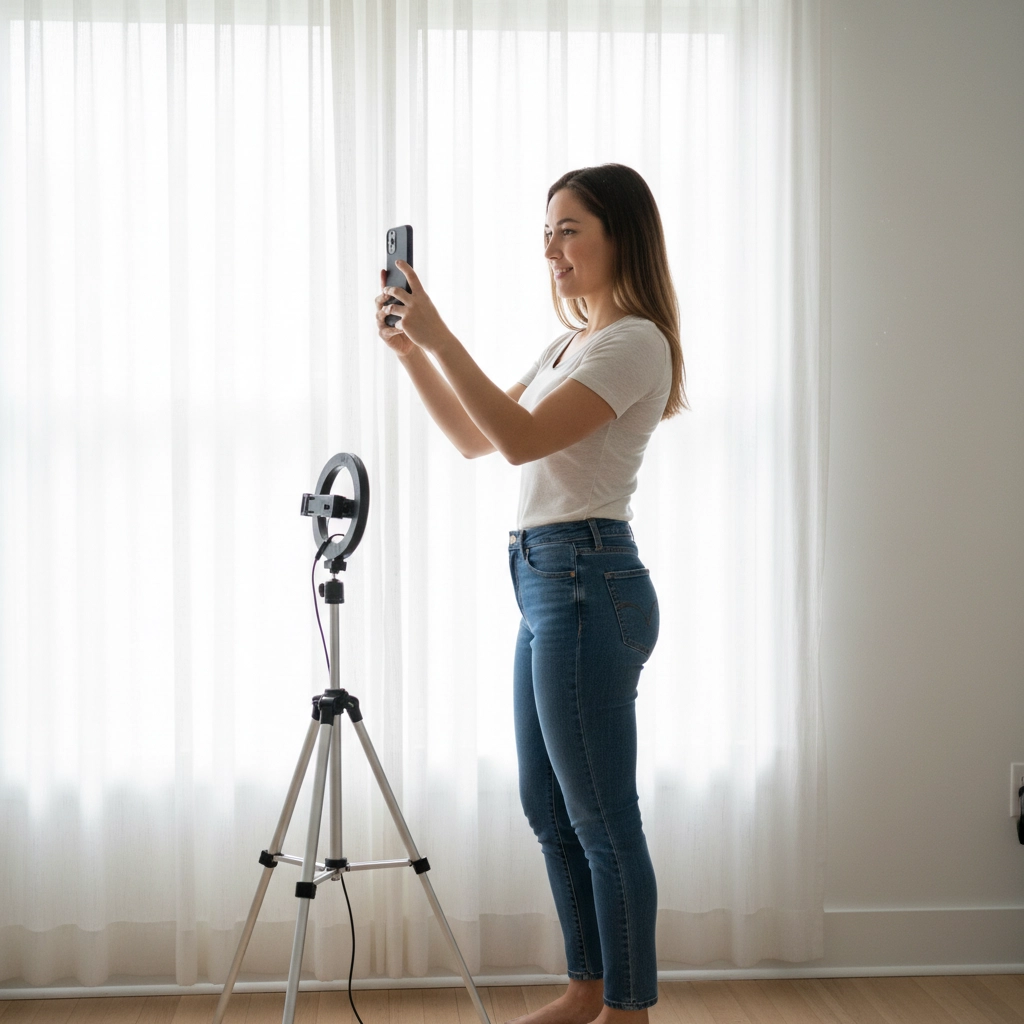
Method 2: DIY Smartphone Studio Setup (5 Minutes Total)
If you prefer the hands-on approach, you can create impressive results using just your smartphone and some basic lighting principles.
Equipment You Need:
- Smartphone with portrait mode
- Natural light source (window)
- Plain background (wall or backdrop)
- Tripod or stable surface (optional but recommended)
Setup Process (2 Minutes):
Position yourself near a large window with soft, diffused light. Avoid direct sunlight, which creates harsh shadows and causes squinting. Overcast days provide the most flattering natural light for headshots.
Choose a clean, uncluttered background. A plain wall works perfectly, or you can use a simple backdrop if available. The key is avoiding distracting elements that pull attention from your face.
Set your phone's camera to portrait mode and position it slightly above eye level. This angle is universally flattering and mimics professional photography techniques.
Shooting Process (2 Minutes):
Use your smartphone's back camera rather than the front-facing camera for higher resolution and better quality. Enable portrait mode to create that professional background blur effect.
Take multiple shots – at least 20-30 photos. Professional photographers take hundreds of shots to get the perfect one, so don't expect to nail it on the first try.
Quick Editing (1 Minute):
Use editing apps like Canva or your phone's built-in editor to make quick adjustments. Focus on brightness, contrast, and removing any minor blemishes. Keep editing minimal – over-processing can make your headshot look artificial.
Camera Settings for Professional Results
If you're using a DSLR or mirrorless camera for your remote headshot creation, these settings will help you achieve studio-quality results:
- Aperture: f/4.0 to blur the background while keeping your face sharp
- ISO: 400 for well-lit indoor conditions
- Shutter Speed: 1/125 second to avoid motion blur
- Focus: Single-point autofocus on the eyes
These settings create the shallow depth of field that makes professional headshots stand out from casual photos.
Lighting: The Secret to Studio-Quality Results
Proper lighting is what transforms a casual photo into a professional headshot. Here's how to get it right at home:
Natural Light Setup: Position yourself 3-6 feet from a large window with sheer curtains or on an overcast day. This creates soft, even lighting that's incredibly flattering.
Artificial Light Options: If natural light isn't available, a simple ring light or desk lamp with a white shade can work. Position it at eye level or slightly above to avoid unflattering shadows under your chin.
Common Lighting Mistakes to Avoid:
- Direct overhead lighting (creates dark eye shadows)
- Light from below (creates an unnatural, horror-movie effect)
- Mixed color temperatures (makes skin tones look off)

Background and Styling Tips for Easy Headshots
Your background should complement, not compete with, your professional image. Here are the most effective options:
Professional Backgrounds:
- Plain white or light gray walls
- Subtle office environments
- Soft-focus outdoor settings (for AI-generated options)
Styling Guidelines:
- Solid colors work better than busy patterns
- Choose colors that complement your skin tone
- Ensure your clothing is wrinkle-free and properly fitted
- Keep jewelry and accessories minimal
Post-Processing: The Final Touch
Even the best photos benefit from subtle enhancements. Whether you're editing smartphone photos or working with AI-generated headshots, focus on these key areas:
Essential Adjustments:
- Brightness and contrast for proper exposure
- Skin tone correction if needed
- Minor blemish removal (but keep it natural)
- Background cleanup for distracting elements
Tools That Work:
- Canva for quick, professional edits
- Phone apps like Snapseed or VSCO
- Adobe Lightroom for more advanced control
Remember, the goal is enhancement, not transformation. Your headshot should look like the best version of you, not a completely different person.
Comparing Costs: AI vs Traditional Photography
The financial advantages of creating headshots at home are substantial:
Traditional Studio Photography:
- Session fee: £200-£500 ($250-$625)
- Travel time and costs
- Limited number of final images
- Potential reshoot fees
- Total time investment: 4-6 hours
AI Headshots at Home:
- One-time cost: £14-34 ($18-44)
- No travel required
- Dozens of professional variations
- Results delivered in 1-2 hours
- Total time investment: 1-2 hours
The cost savings alone make this approach attractive, but when you factor in the convenience and variety, it becomes the obvious choice for modern professionals.
When to Use Each Method
Choose AI headshots when:
- You need results immediately
- You want multiple professional looks
- Budget is a primary concern
- You're updating profiles regularly
Choose DIY smartphone method when:
- You prefer hands-on control
- You want to learn photography skills
- You have specific background requirements
Professional Results Without Professional Hassle
Creating studio-quality headshots at home has never been easier or more accessible. Whether you choose AI-powered solutions or the DIY approach, you can achieve professional results that enhance your online presence and career prospects.
The key is understanding that professional quality doesn't require professional equipment or studios – it requires good lighting, proper composition, and modern technology working in your favor.
Ready to transform your professional image? Try ProfileHero for AI-powered headshots that deliver studio-quality results in minutes, not weeks. Upload your photos today and see why thousands of professionals have made the switch to convenient, affordable, and impressive AI headshots at home.